2.1 Adding New Customers
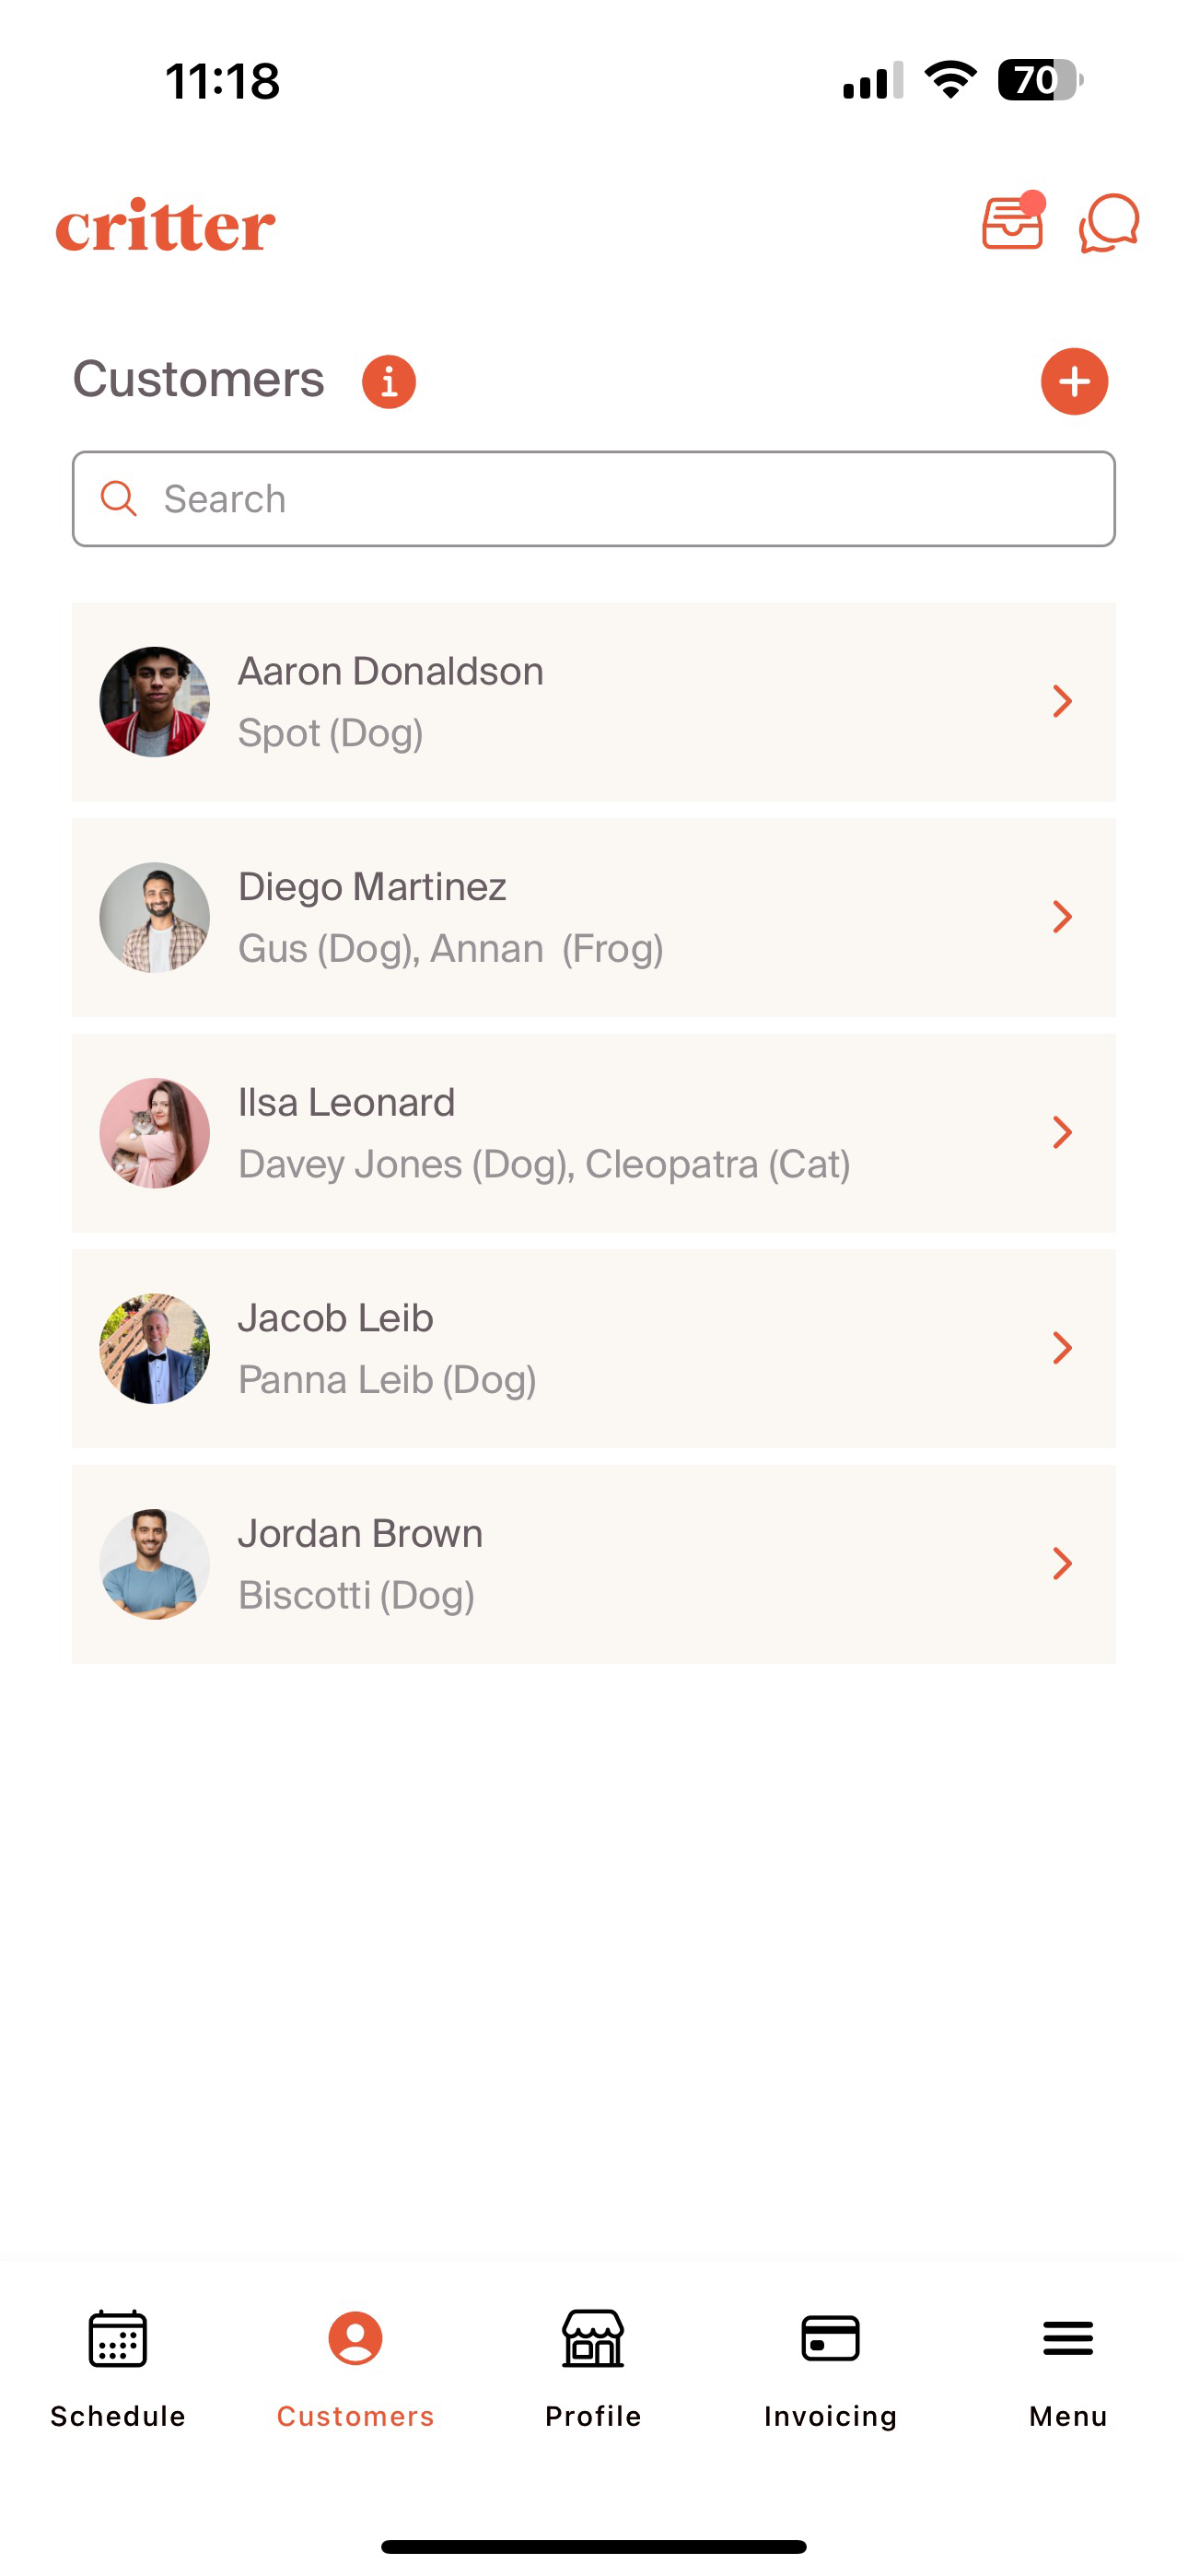
Adding new customers is the first step in the process of creating a new relationship with a client. In order to generate any bookings, invoices, or other communications we first need to add a customer. When we navigate to the "Customer" tab, we will see a list of all of our existing customers. The pets associated with each customer are listed below, with the type of pet show in parenthesis.
In order to add a new customer, select the "+" sign. This will require basic information to be included for a professional's customer. First Name, Last Name, and Email are required fields. If we would like to include a welcome email, select the "Send Welcome Email" check box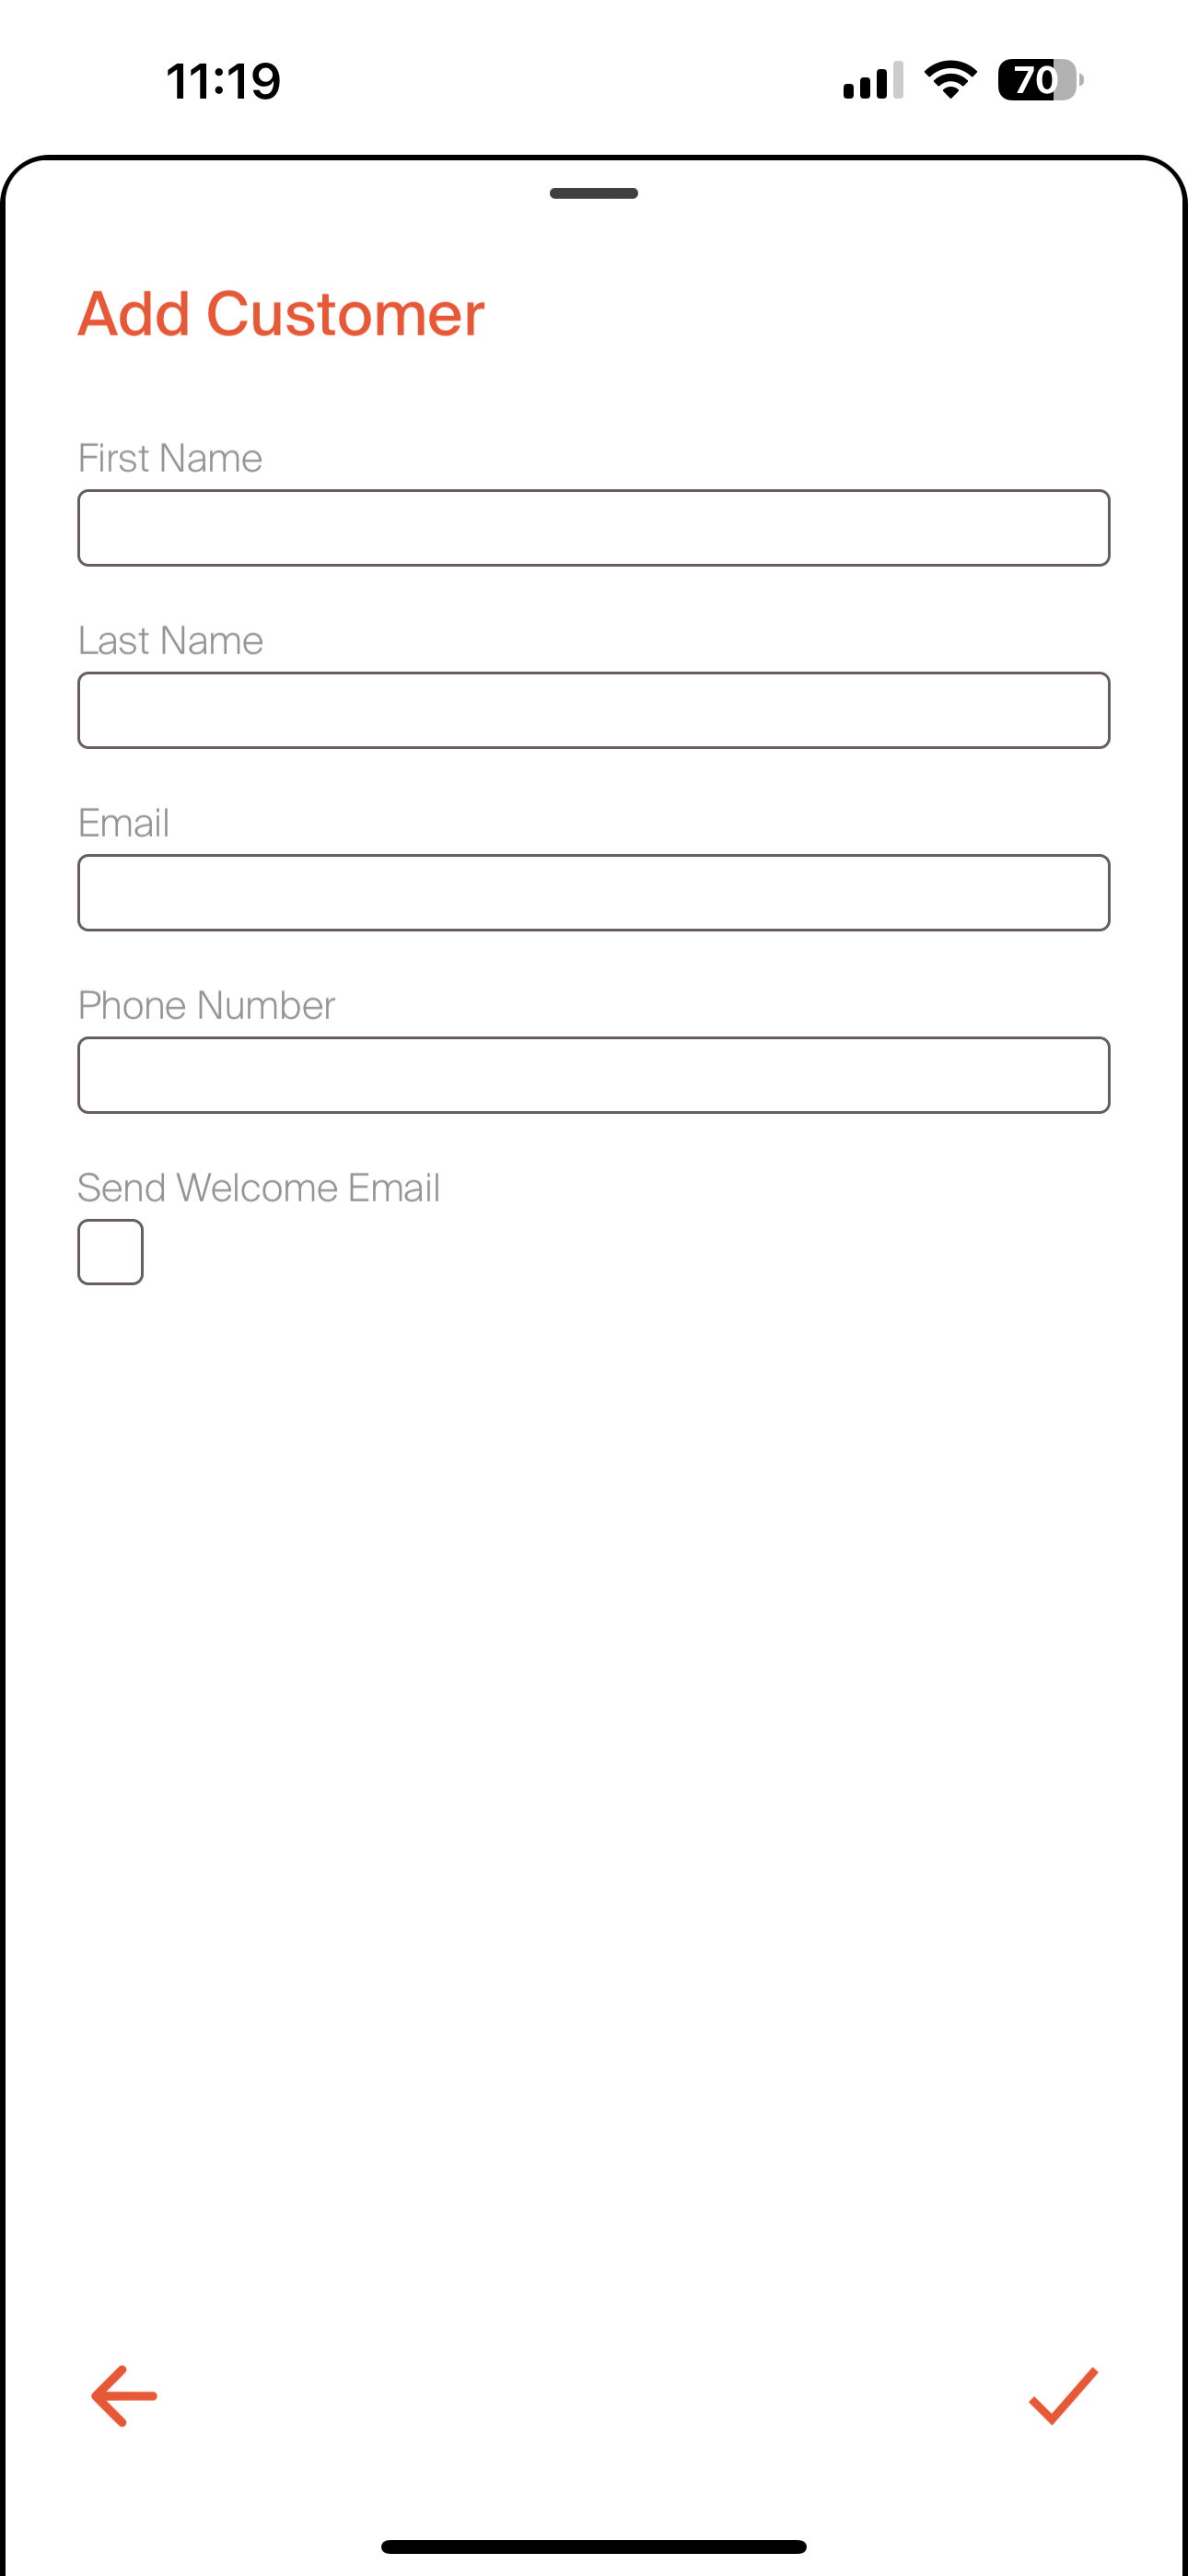
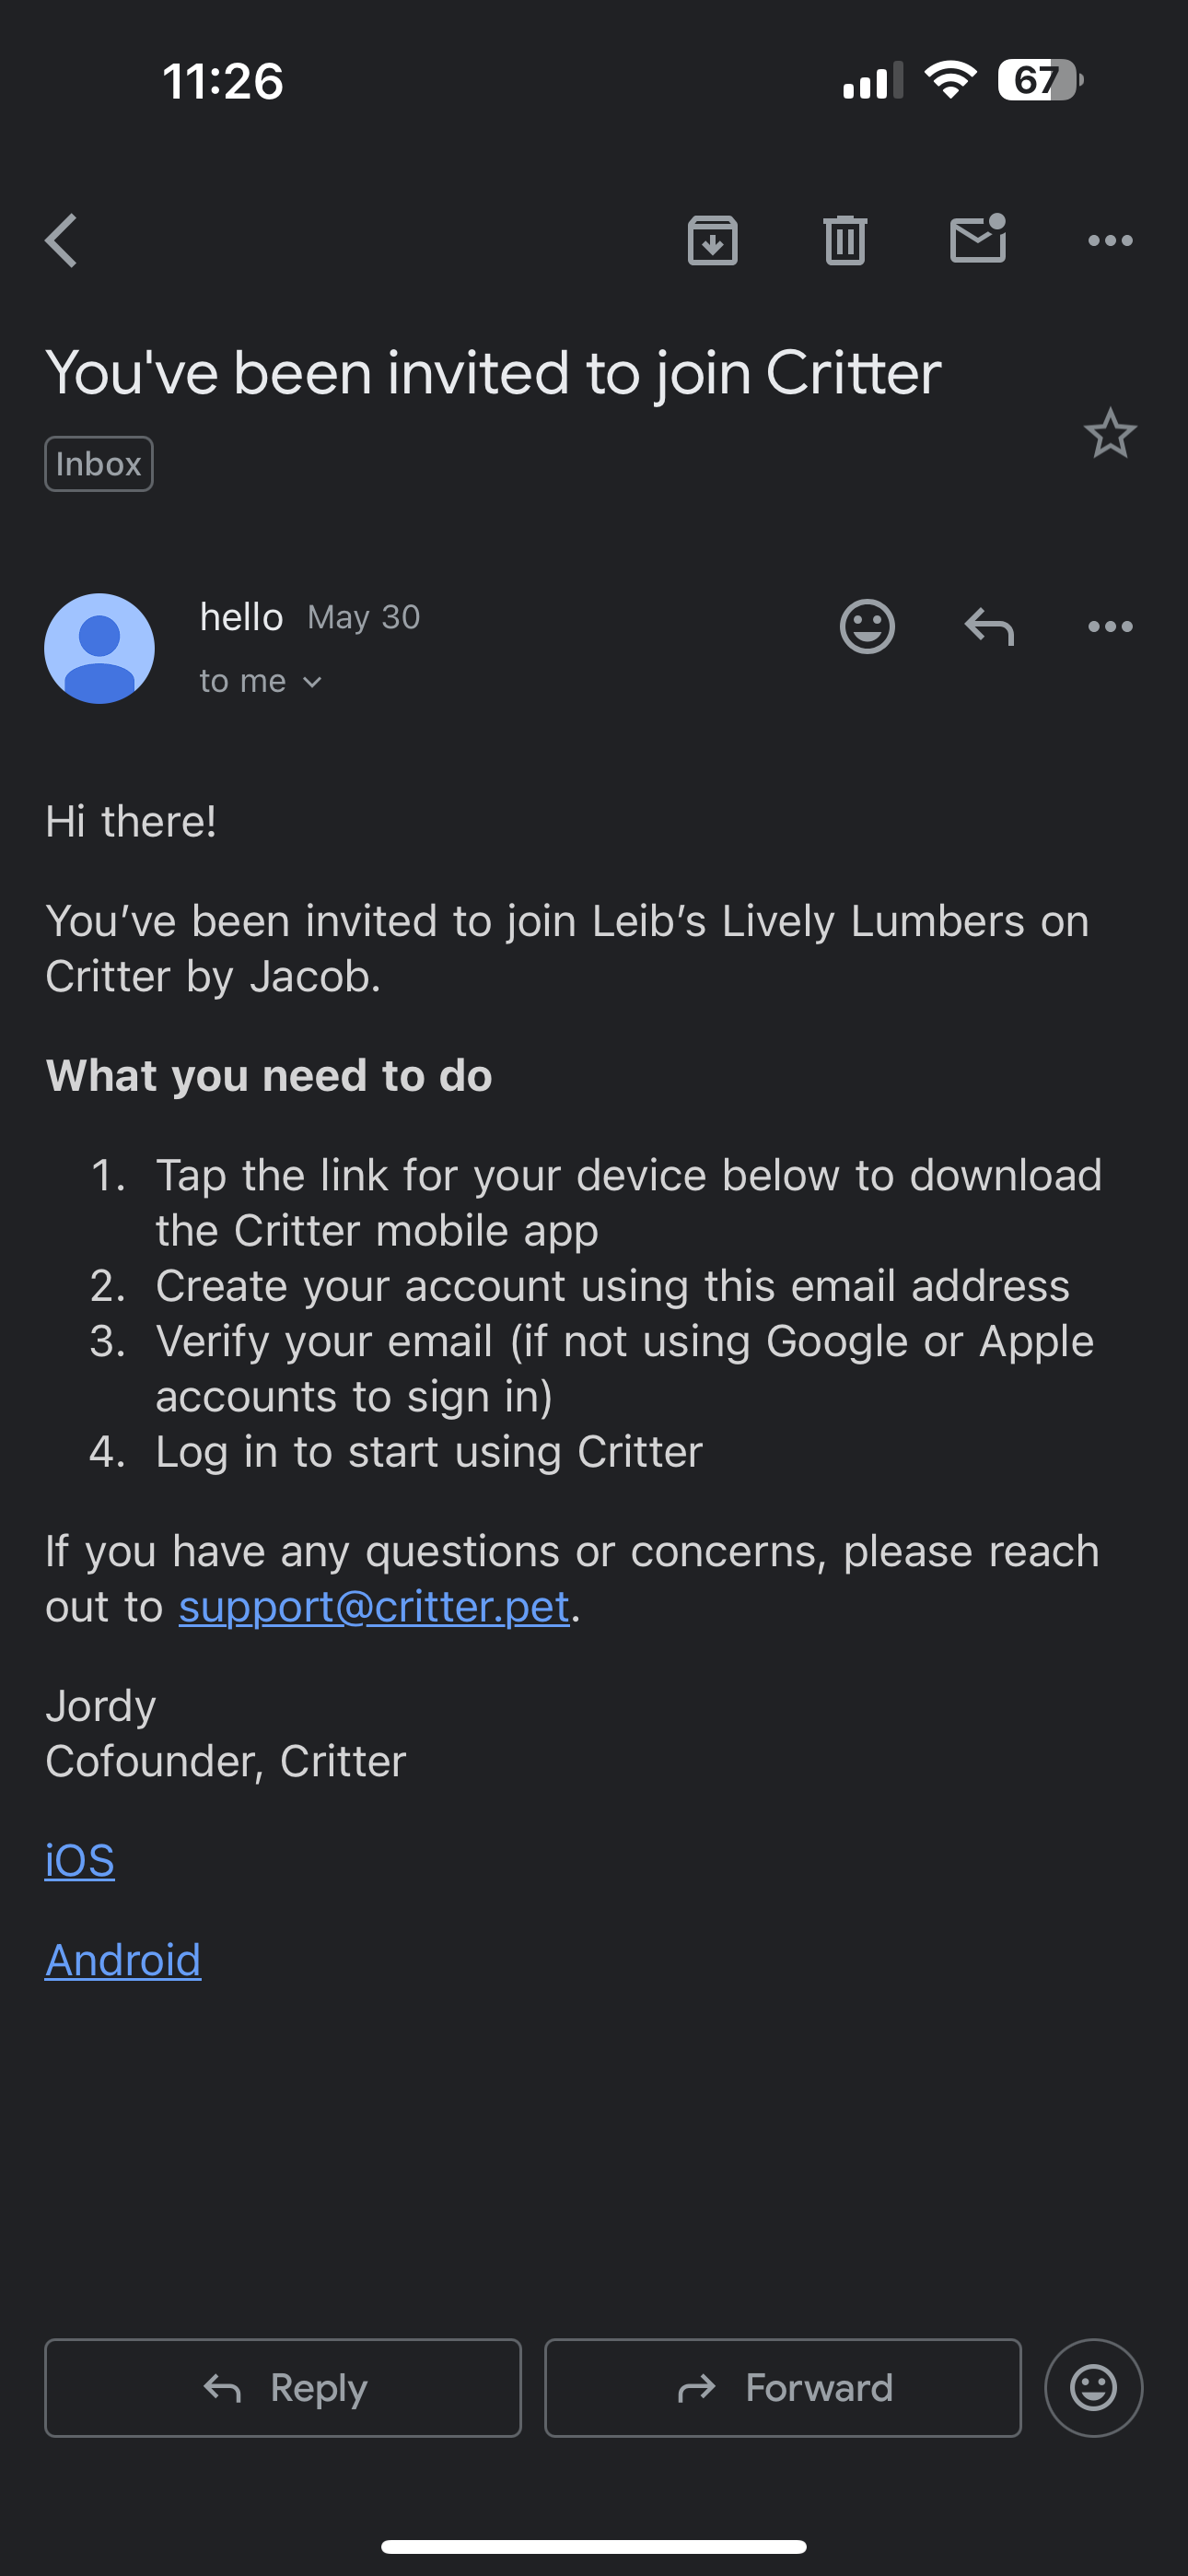
If this customer does not have a Critter Profile already, they will receive a welcome email that will prompt them to create a Critter profile. A sample email is shown below. Pet owners will be able to select their relevant operating system, download the app, and create a Critter profile.
If the customer already has a Critter profile, a professional will be prompted with a message to select the pet associated with the potential customer. In the screenshot below, we can see the pet linked with the customer profile that you had added. If we need to add a new pet, select the "add new pet" option.
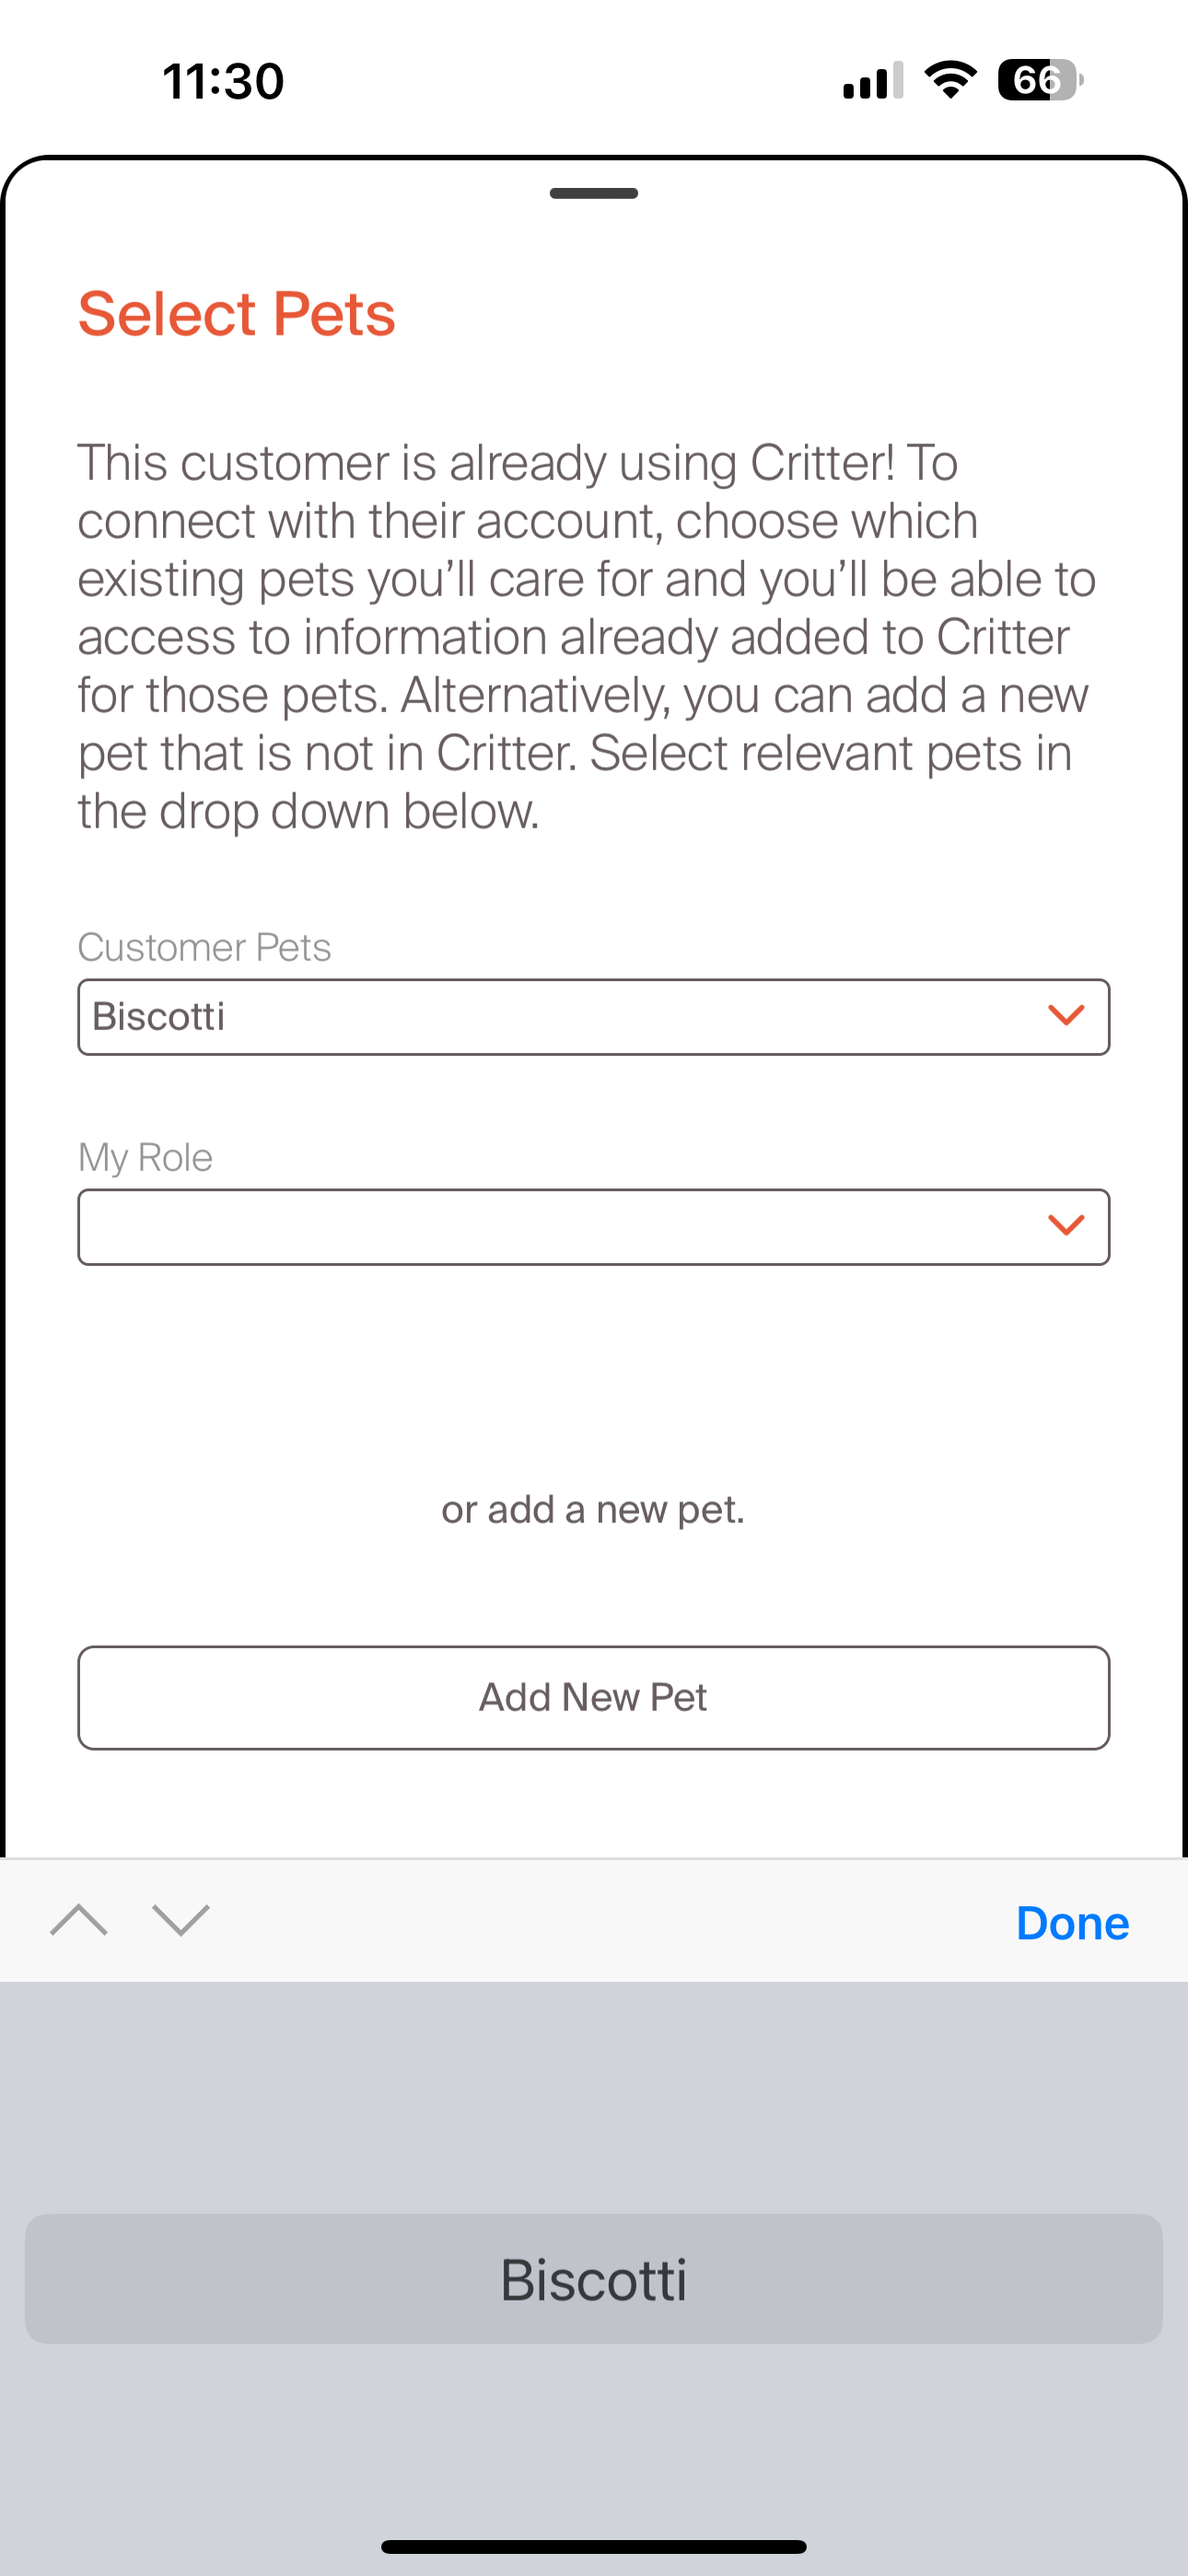
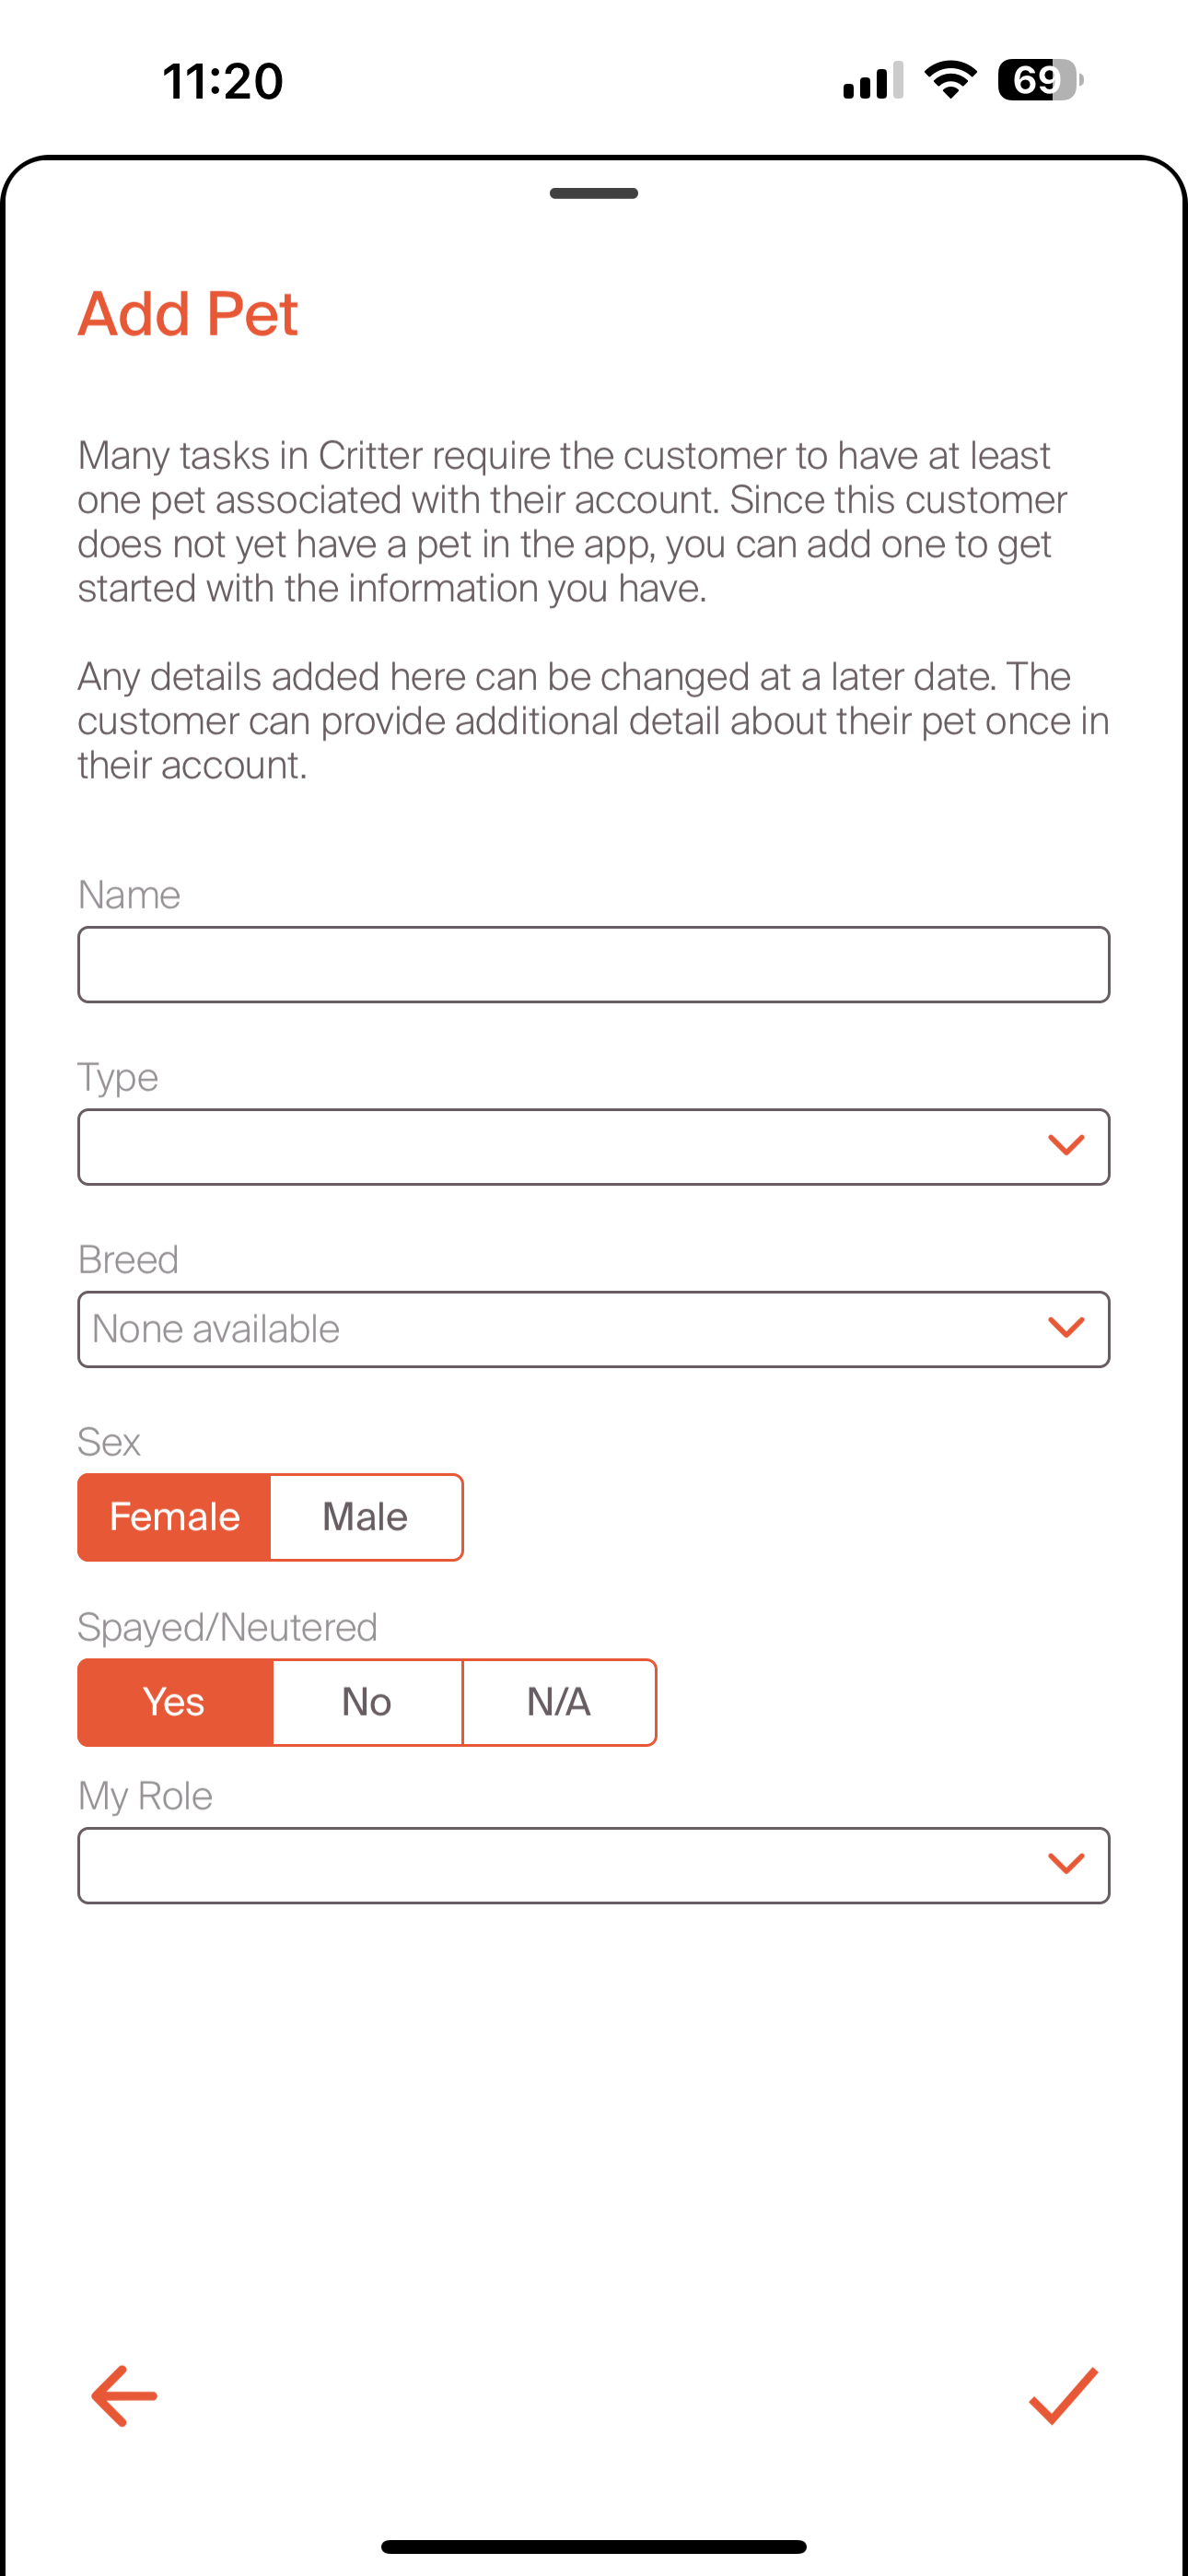
Adding a new pet will require adding basics, including "name", "type", "breed", "sex", "spayed/neutered", and the professional role. This is the type of professional services that we will be providing (walker, groomer, trainer, etc). Once the pet is created, the owner can populate additional information in the care plan and timeline as part of the pet owner experience.
Now that we have successfully added customers, let's learn more about managing our relationship with them